 Canvas Bell Tents
 Bell Tent Accessories
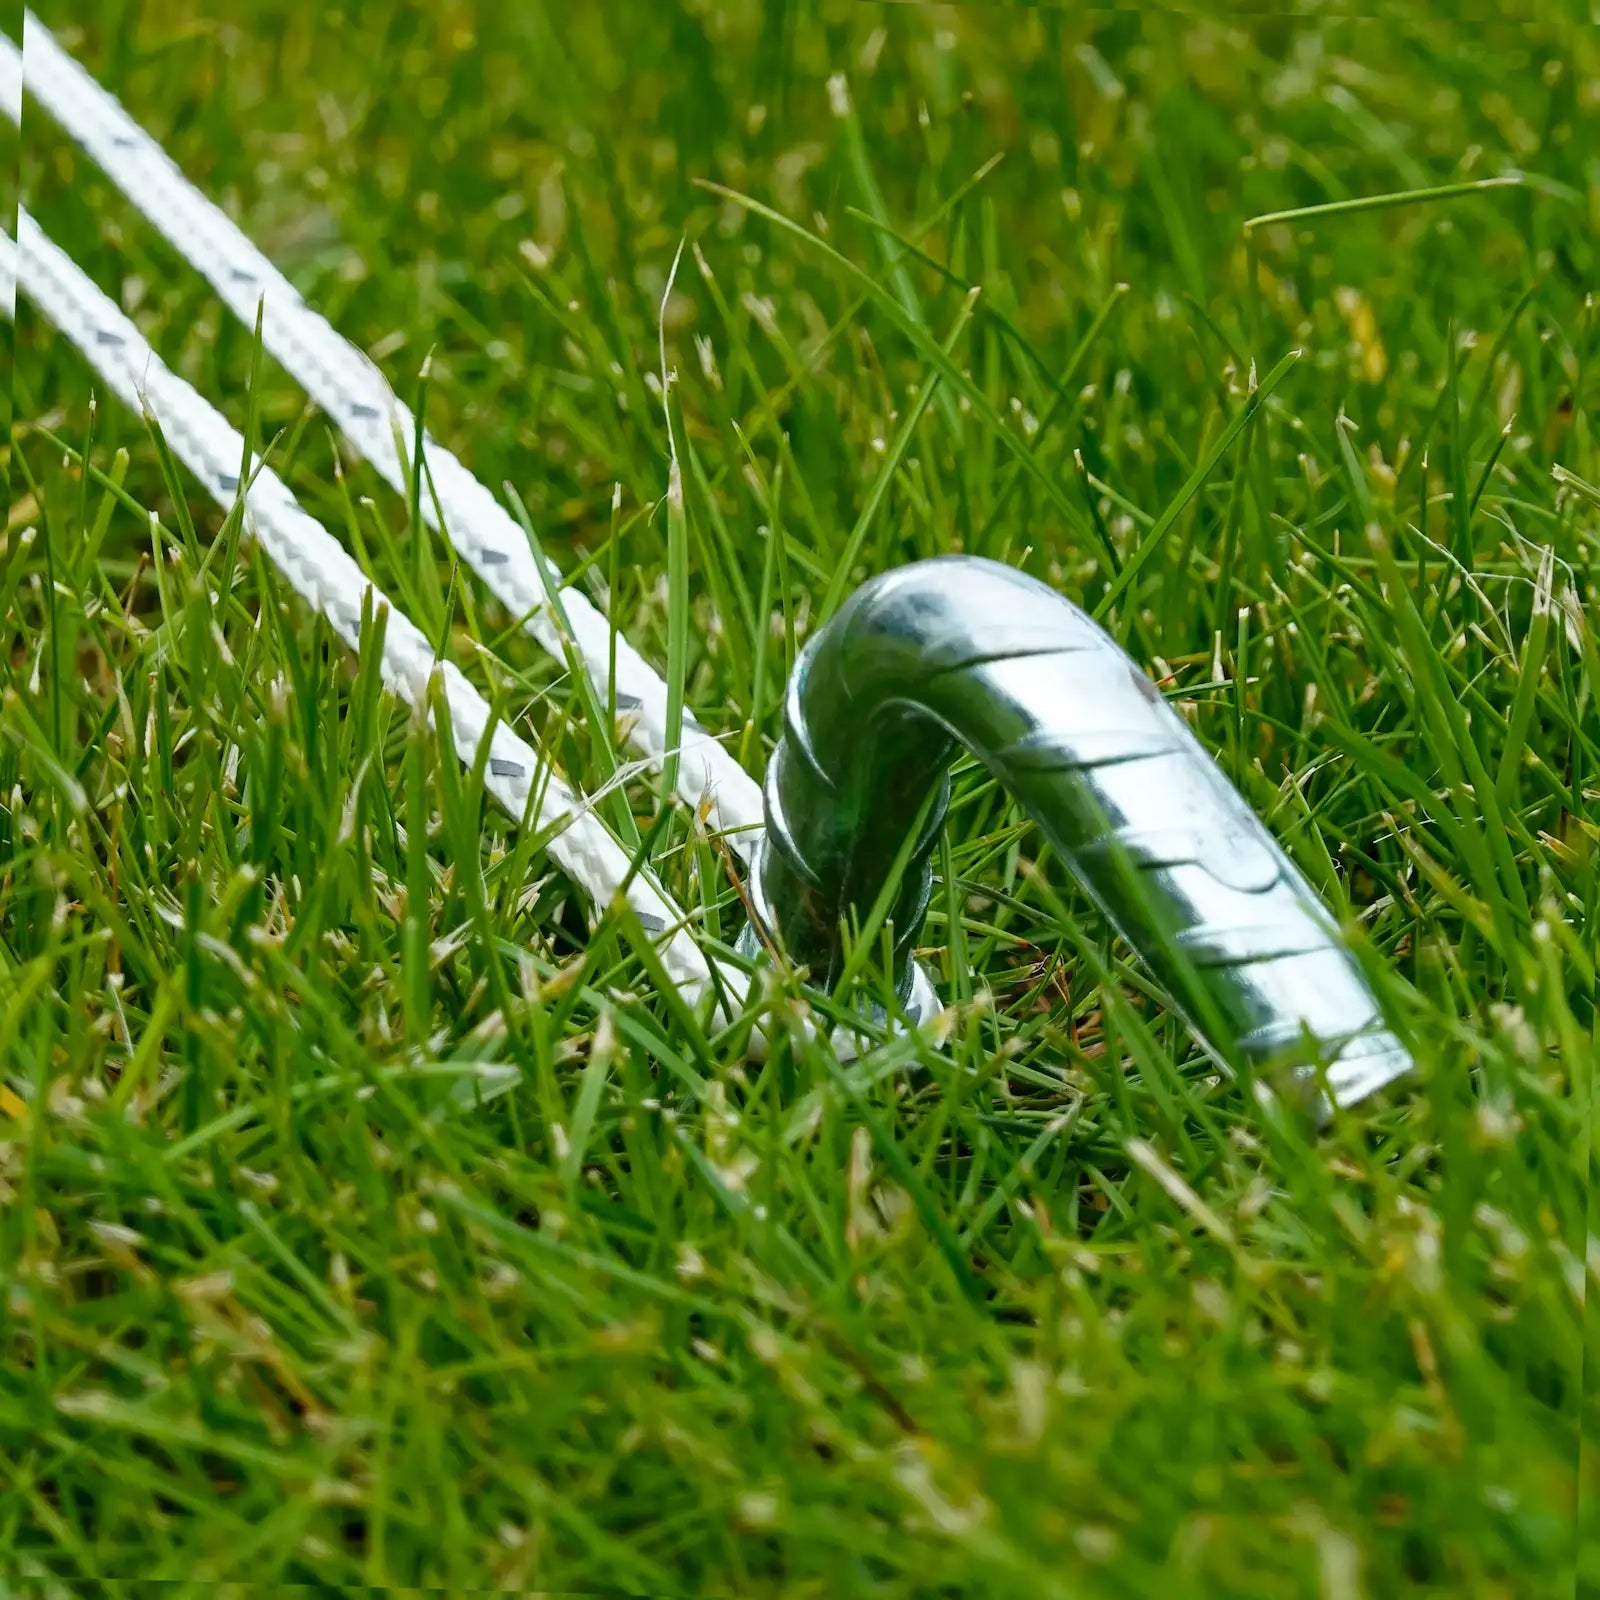
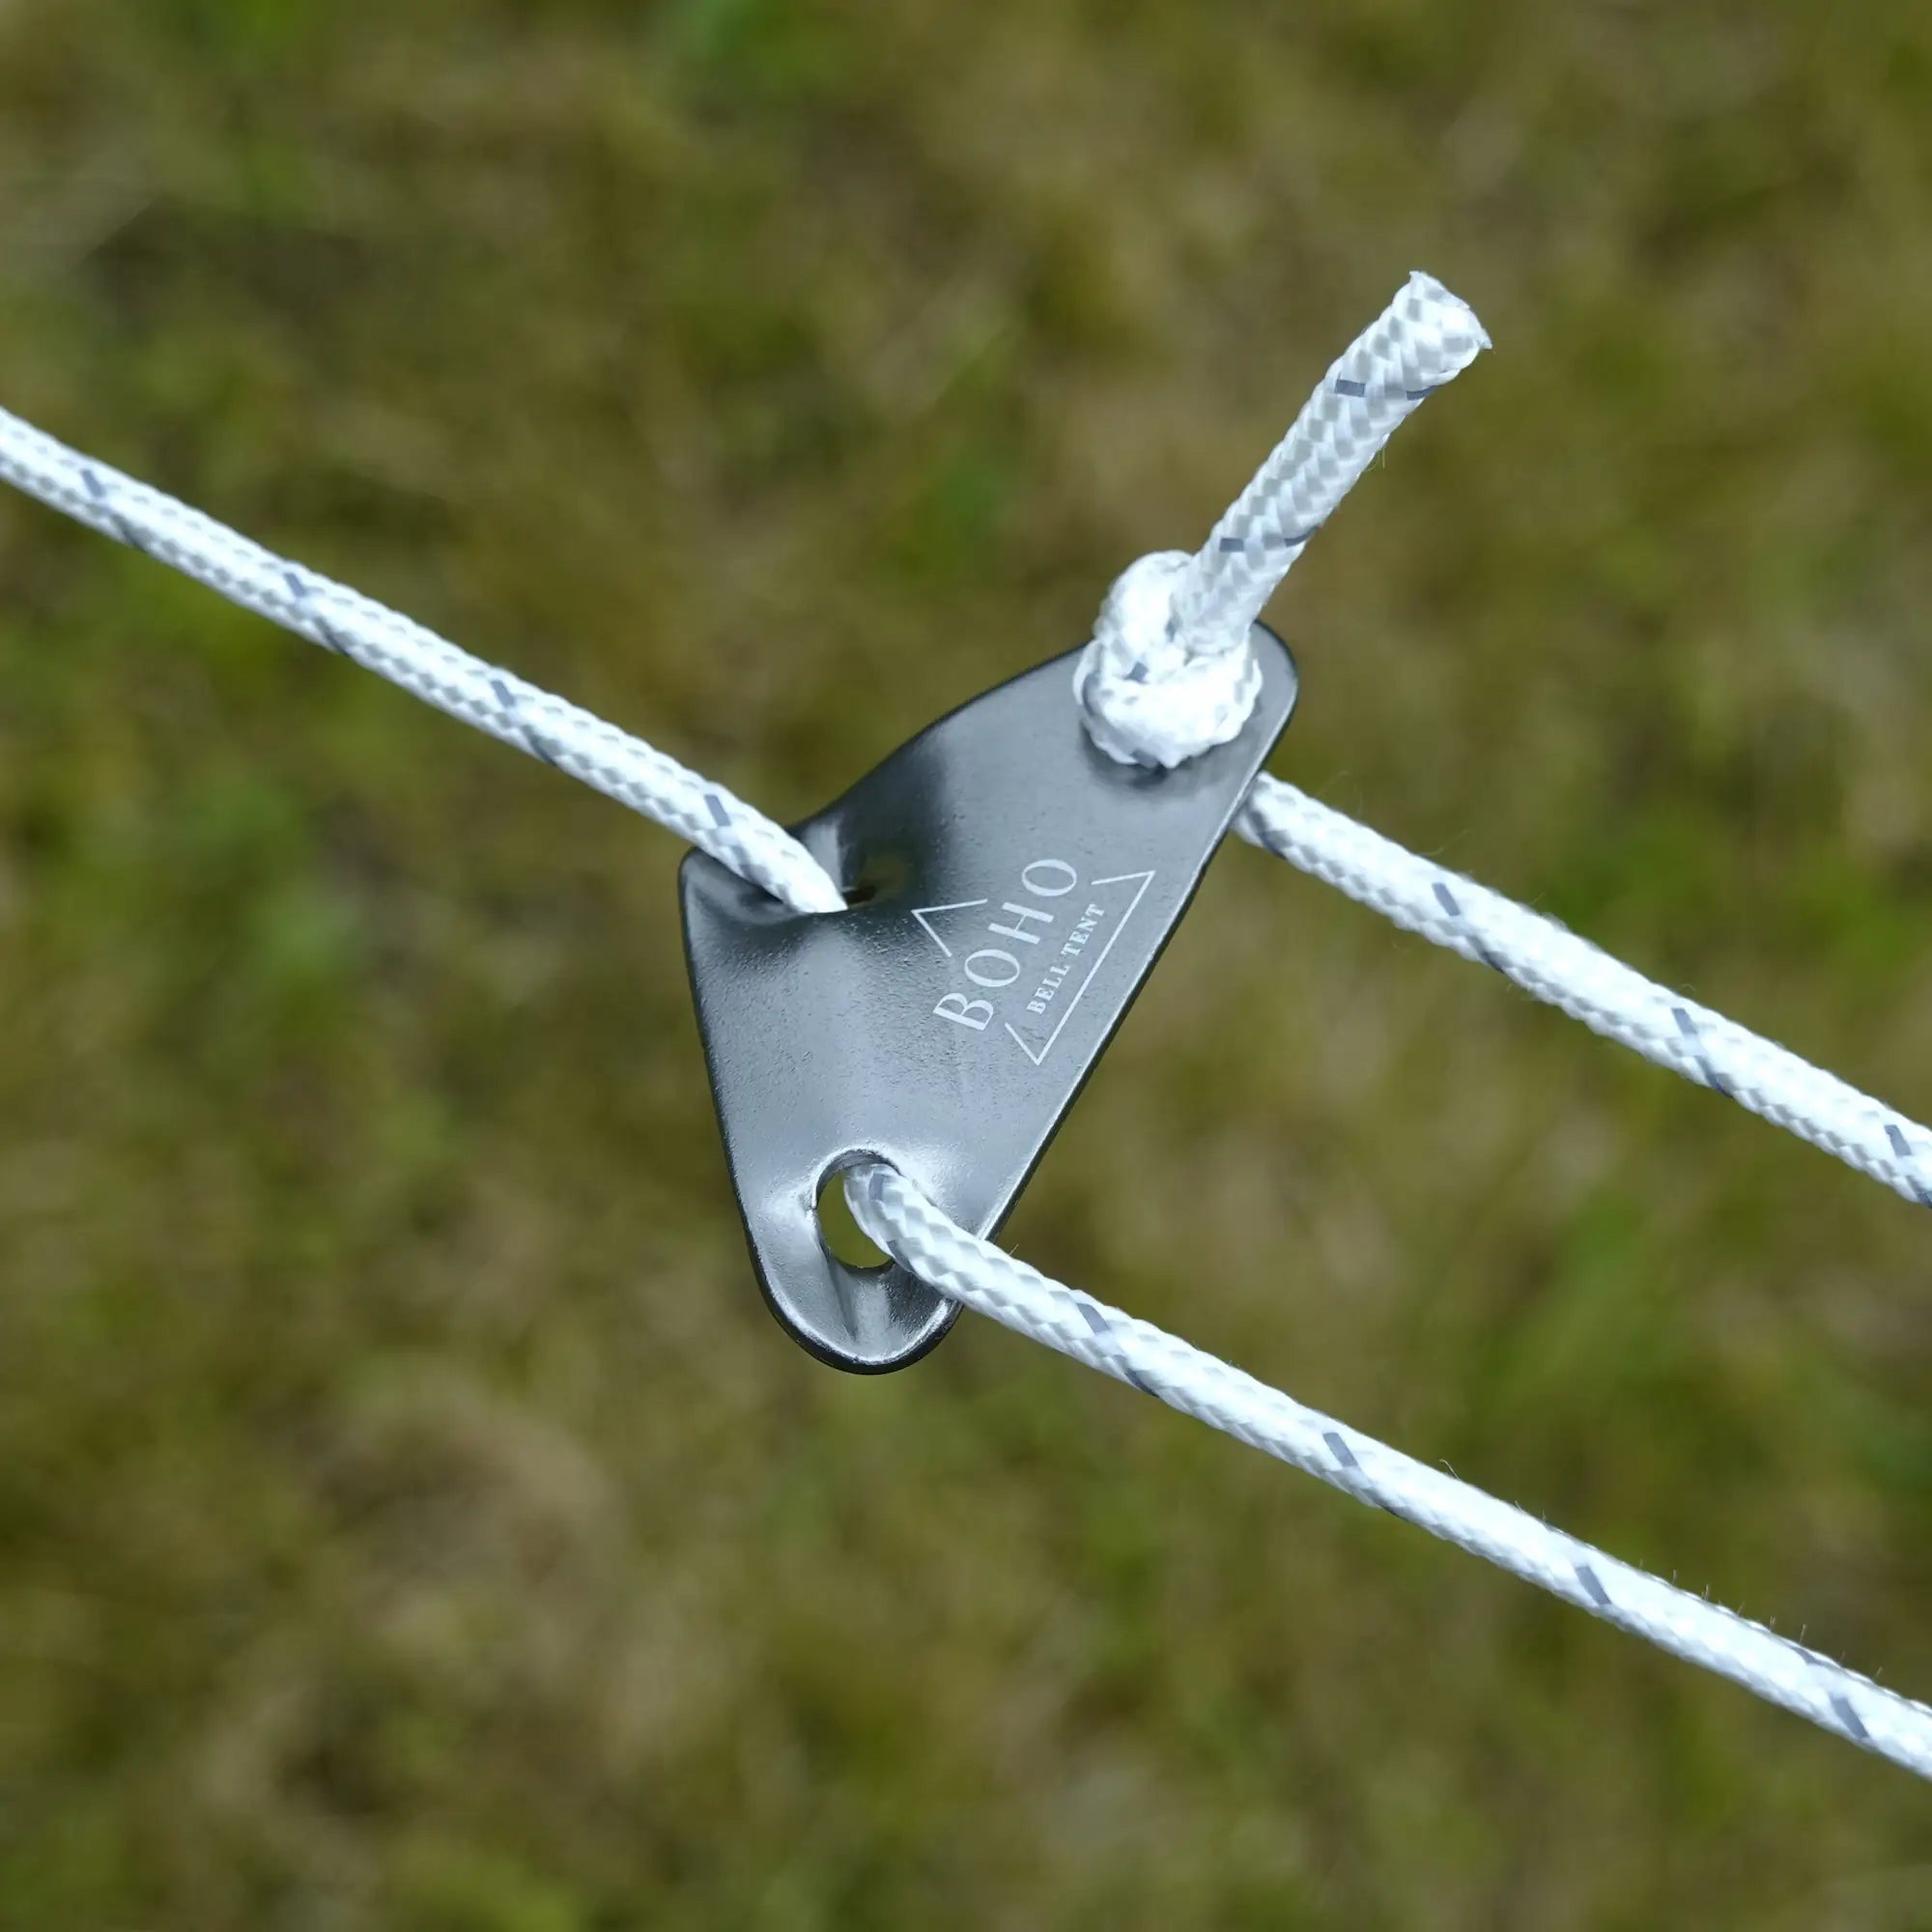
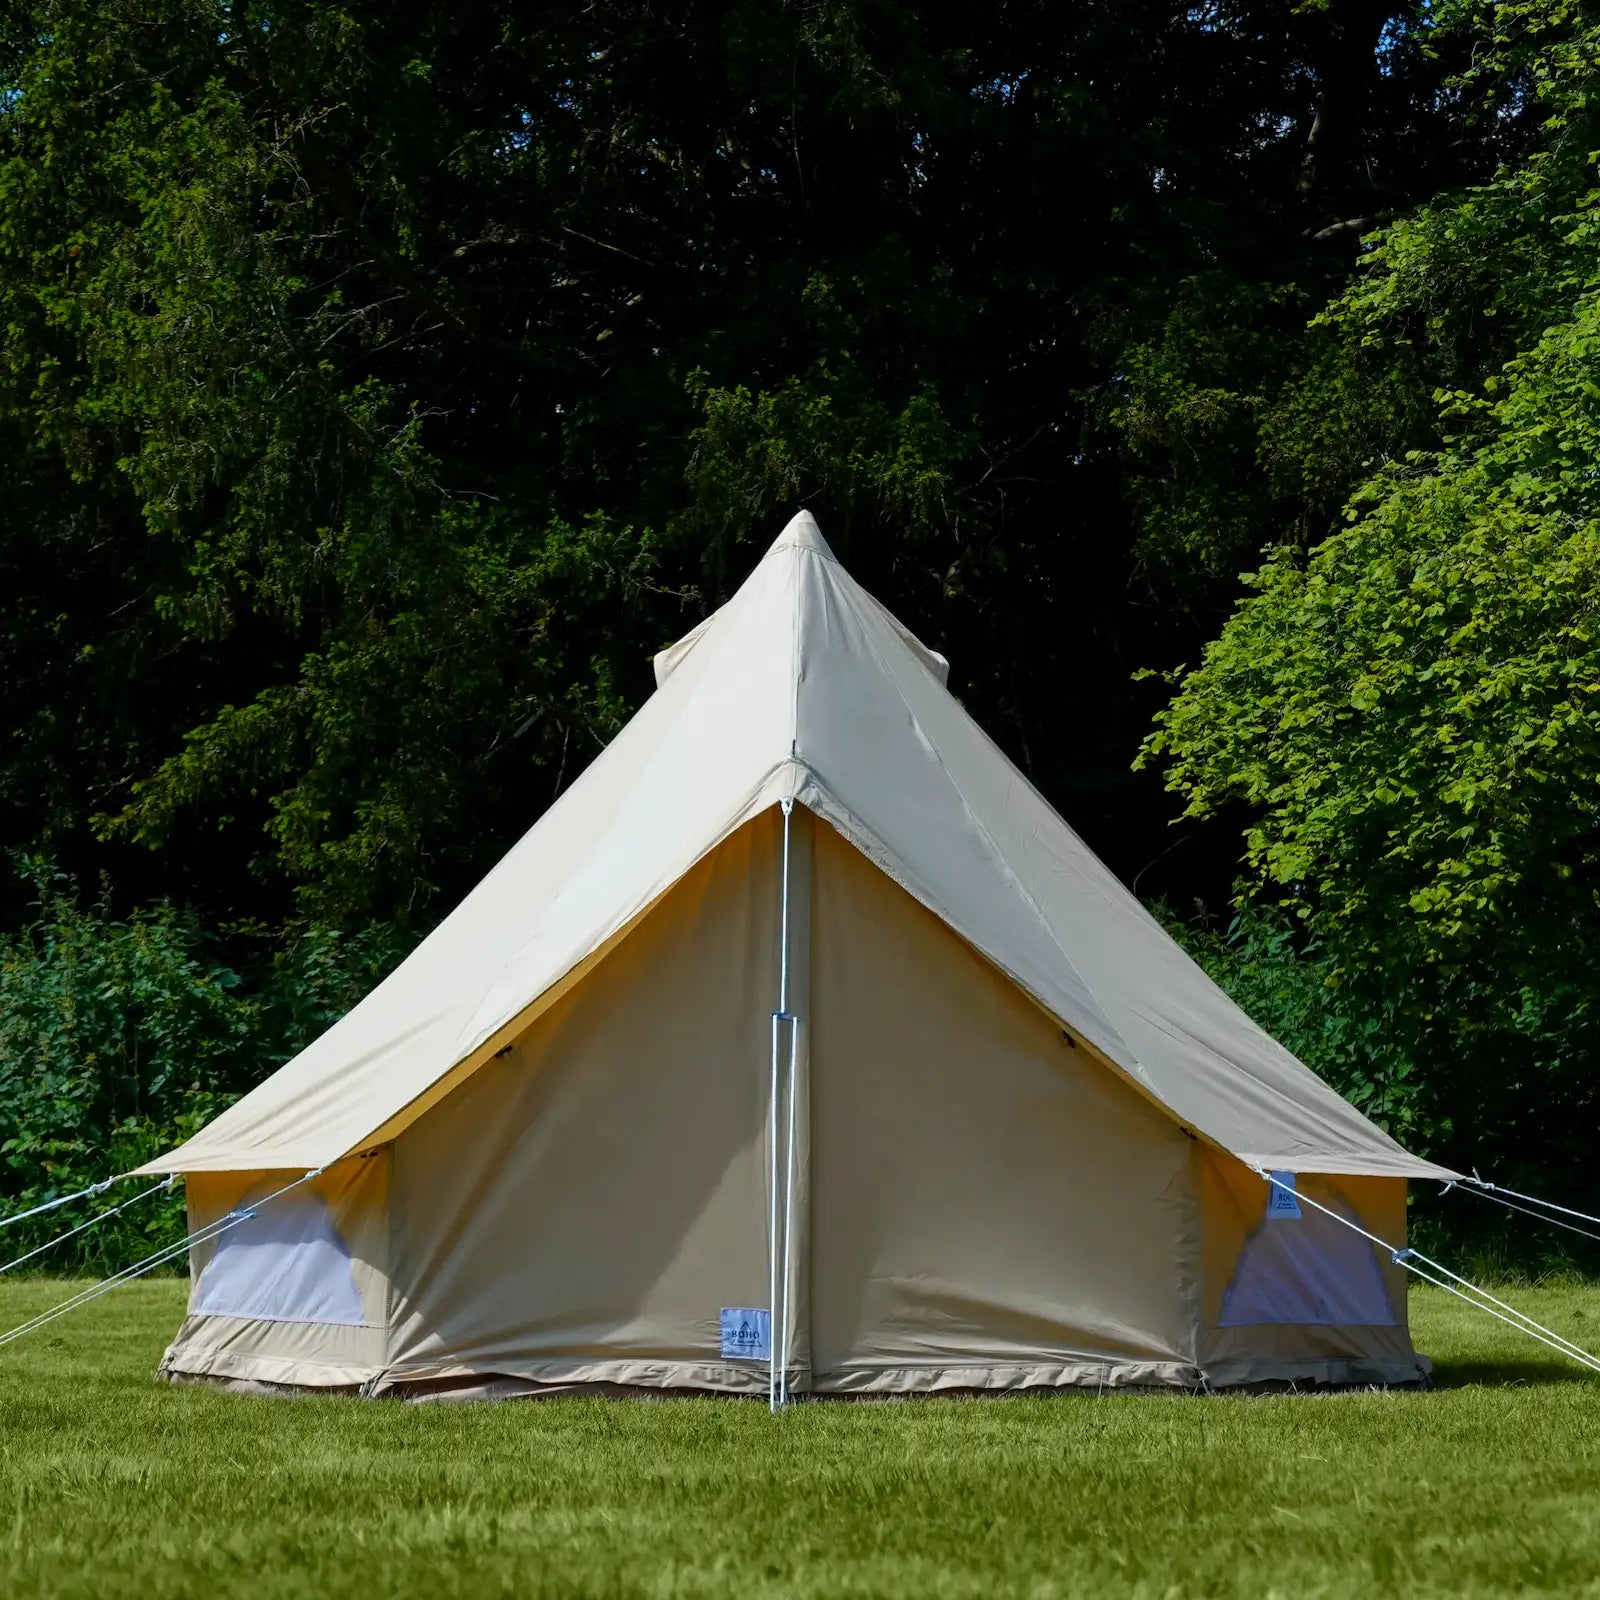
You finally invested in that dreamy canvas bell tent — the one you’ve been eyeing for your outdoor adventures. But then it hits you: what happens when it rains?
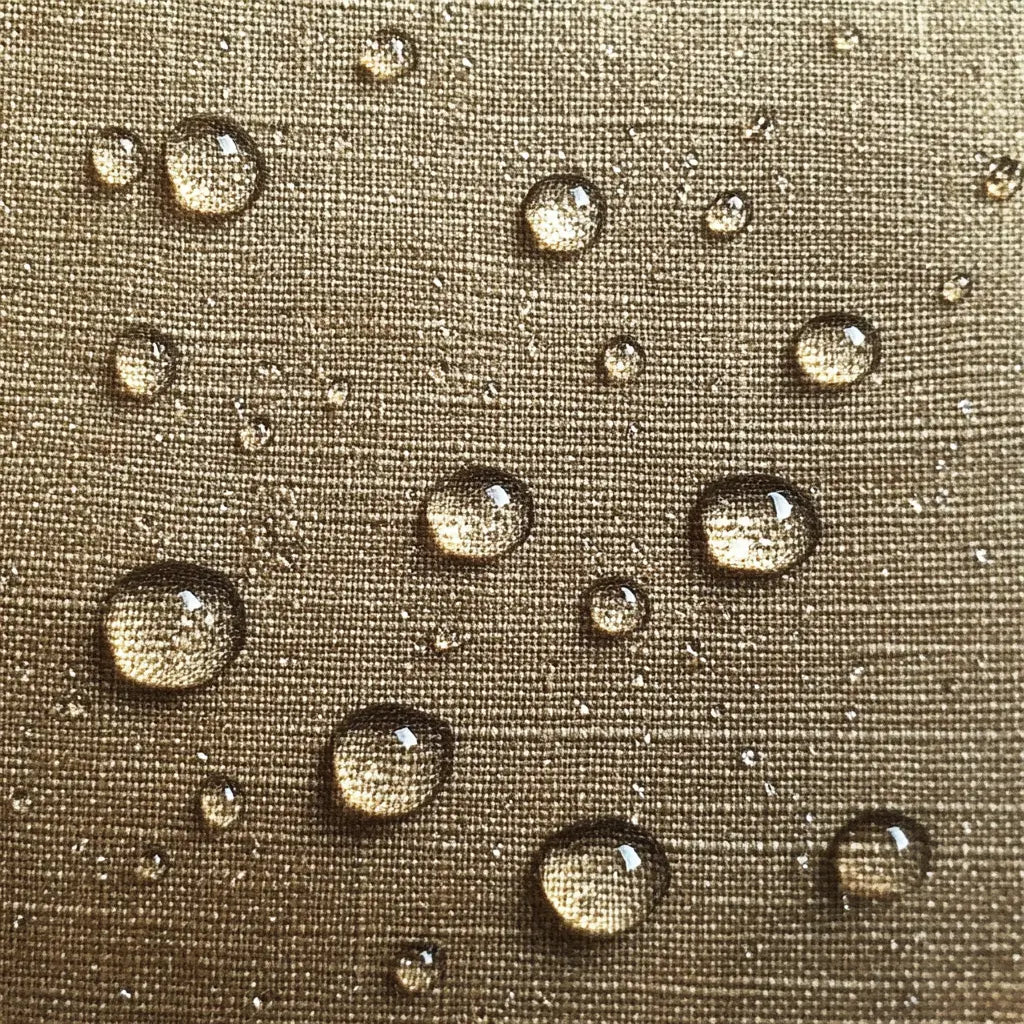
Canvas tents, while durable and beautiful, aren’t inherently waterproof. If left untreated, your tent could let in water, leading to leaks, damp gear, and ruined camping experiences. Worse yet, prolonged moisture can cause mold and mildew, which can quickly destroy the fabric and your investment.
So, if you plan on camping through unexpected rainstorms or simply want peace of mind, learning how to waterproof your canvas bell tent is an absolute must.
Imagine this: you wake up to a dripping sound. Water seeps through the seams, pooling inside your tent. Your sleeping bag is damp, your clothes are soggy, and the relaxing weekend you planned turns into a stressful mess.
Worse, a poorly maintained tent won’t just affect one trip—it can shorten the lifespan of your gear, causing tears, mildew damage, and costly repairs.
Skipping the waterproofing process might save a little time today, but it risks ruining every future adventure.
The good news? Properly waterproofing your canvas tent isn’t complicated. In fact, you can do it in a single afternoon with the right approach.
When I first got my own canvas bell tent, I assumed it was ready for anything. After a soggy night on my first trip, I realised waterproofing was essential. I went through trial and error — but after learning the proper steps, my tent now shrugs off heavy rainstorms without a problem.
Let’s dive into the step-by-step method to waterproof your canvas bell tent — the right way.
Step 1: Weather the Tent
Canvas tents need a process called “weathering” before they become waterproof. Weathering simply means soaking the tent with water and allowing it to dry several times. This causes the cotton fibers to swell, close up tiny holes, and create a tighter weave.
-
Set up your tent fully in your garden or a safe outdoor area.
-
Use a garden hose or wait for a light rain to soak the entire tent.
-
Let the tent dry completely.
-
Repeat this 2–3 times for the best results.
Tip: Pay extra attention to seams and joins, as these areas are more prone to leaks.
Step 2: Inspect for Issues
After weathering, inspect the tent carefully:
-
Look for tiny leaks by spraying lightly with a hose and observing any drips inside.
-
Check seams, stitching holes, and fabric for any gaps.
Mark any spots that need additional sealing.
Step 3: Apply Waterproofing Treatment
While weathering helps, most canvas tents still benefit from a dedicated waterproofing treatment.
-
Choose the right product: Use a waterproofing solution specifically designed for canvas. Look for a silicone-based or fluoropolymer-based treatment for the best breathability and water resistance.
-
Clean the tent first: Make sure the tent is free of dirt and debris. Use a soft brush and mild soap if needed.
-
Apply evenly: Use a spray bottle, sponge, or brush to evenly coat the entire surface. Focus especially on seams, corners, and stressed areas.
-
Let it dry: Allow the tent to dry thoroughly before packing it away.
Note: Always test the product on a small area first to ensure it doesn’t discolor the fabric.
Step 4: Seal the Seams
Seams are common leakage points, so it’s smart to give them extra attention.
-
Use a seam sealer compatible with canvas material.
-
Apply carefully along all stitched seams, inside and out if possible.
-
Let it cure according to the product instructions.
Step 5: Regular Maintenance
Waterproofing isn’t a one-and-done job. Over time, UV exposure, abrasion, and weathering degrade waterproof coatings.
-
Inspect and re-treat annually (or more often if you camp heavily).
-
Always store your tent dry and clean to prevent mold and fabric damage.
After I properly weathered, waterproofed, and sealed my canvas bell tent, the next rainy trip was a completely different experience.
Instead of worrying about every drop of rain, I sat cosily inside — dry, warm, and grateful. My tent has now survived thunderstorms, heavy mountain rains, and dewy mornings without a single leak.
Proper waterproofing doesn’t just protect your tent — it transforms your camping experience into the relaxing, worry-free getaway you dreamed of.
If you’re serious about protecting your canvas bell tent, don’t leave it to chance. Weather it properly, apply the right waterproofing treatments, and inspect it regularly.
Think of it as an investment in every adventure to come. A few hours spent now will save you countless nights of dry comfort under the stars.
Ready to get started?
Gather your supplies, pick a sunny weekend, and treat your tent like the adventure companion it is.
Your future self — warm, dry, and cosy inside your perfectly waterproofed tent — will thank you.
For any extra help - be sure to reach out - we'd be happy to help with any question or issue that you have!


At Boho Bell Tent, we’ve helped hundreds of customers find the perfect setup for festivals, weddings, and off-grid escapes. So if you need any help at all, be sure to reach out!
Share:
Are Bell Tents Safe in a Thunderstorm?
How To Clean Your Bell Tent