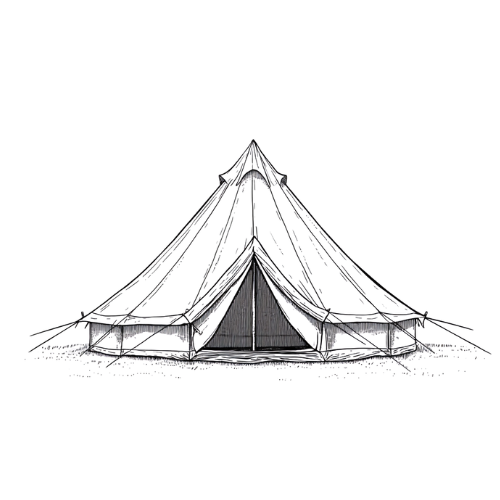
 Canvas Bell Tents
 Bell Tent Accessories
Setting up a canvas bell tent is a crucial skill for anyone looking to enjoy the comfort and style these tents offer. Whether you're camping, attending a festival, or setting up a glamping business, a well-pitched tent ensures a safe and enjoyable experience. This guide will walk you through the process, highlighting the benefits and providing practical tips for a seamless setup.
Preparation
Before you start, gather all the necessary items for setting up your canvas bell tent. Ensure you have the following:
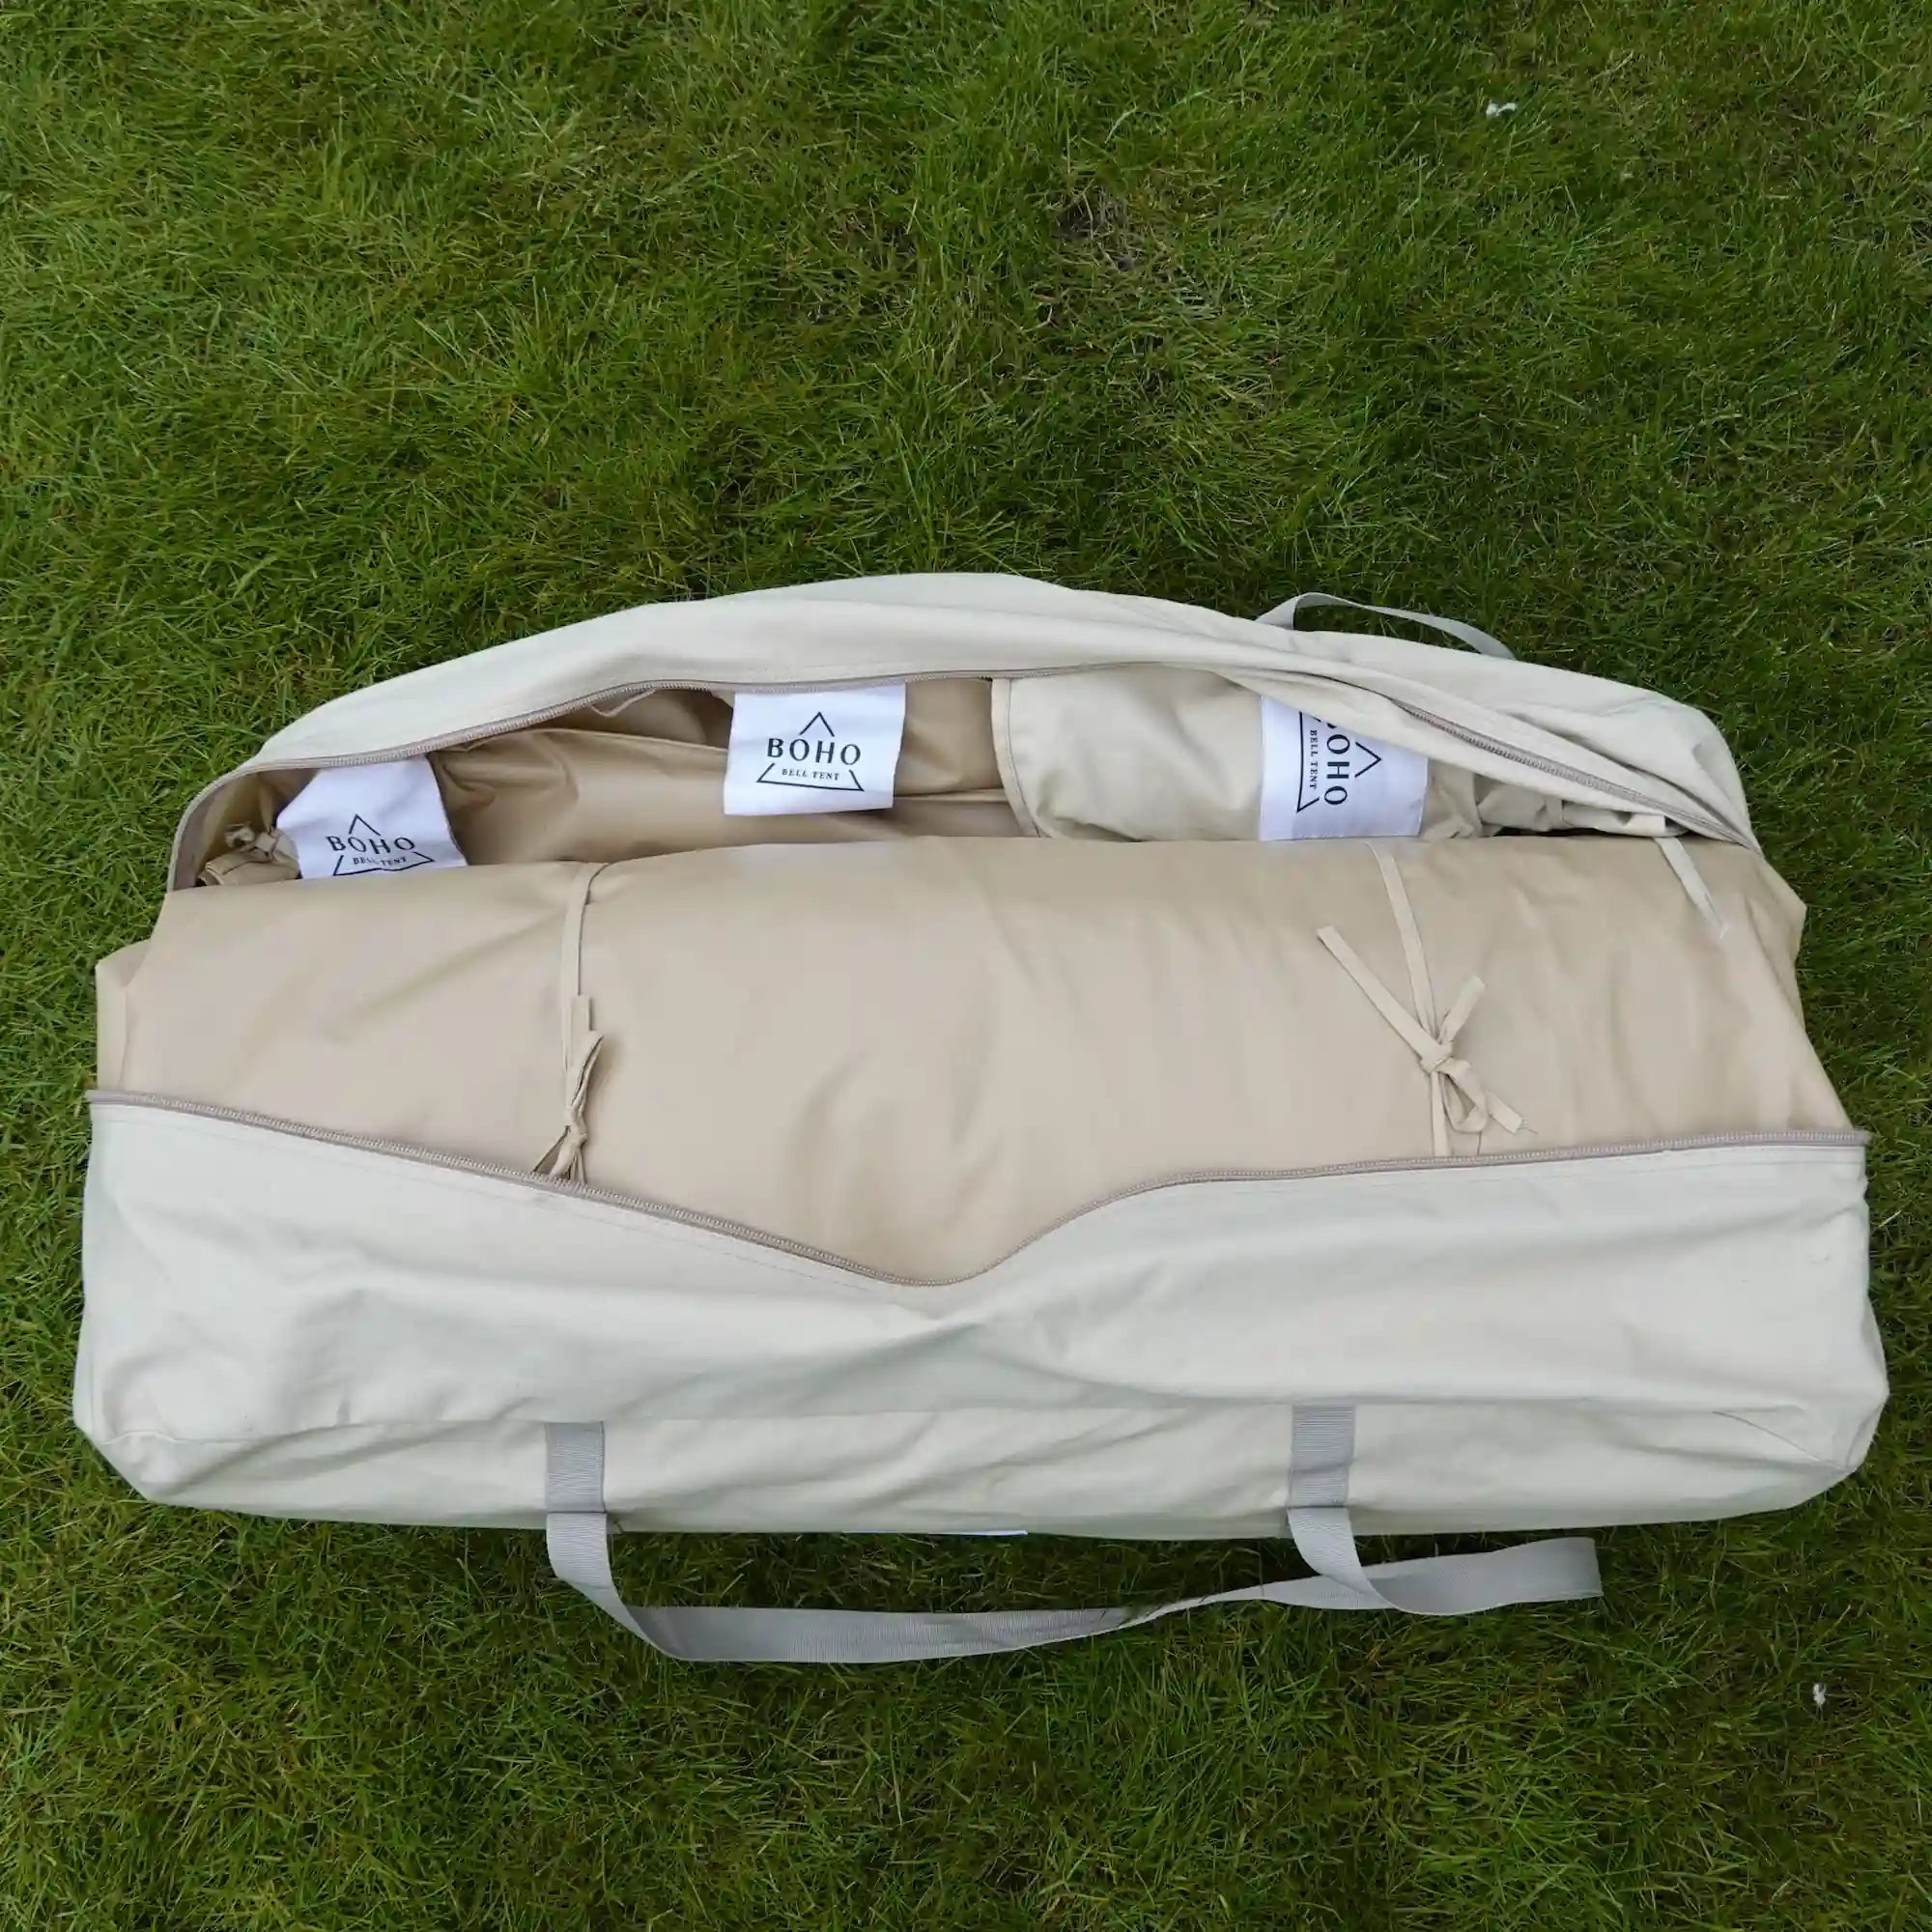
- Tent components (tent fabric, central pole, A-Frame pole, stakes, guy lines)
- Mallet
- Groundsheet
- Pegs and pegs puller
- Additional tools (e.g., hammer, measuring tape)
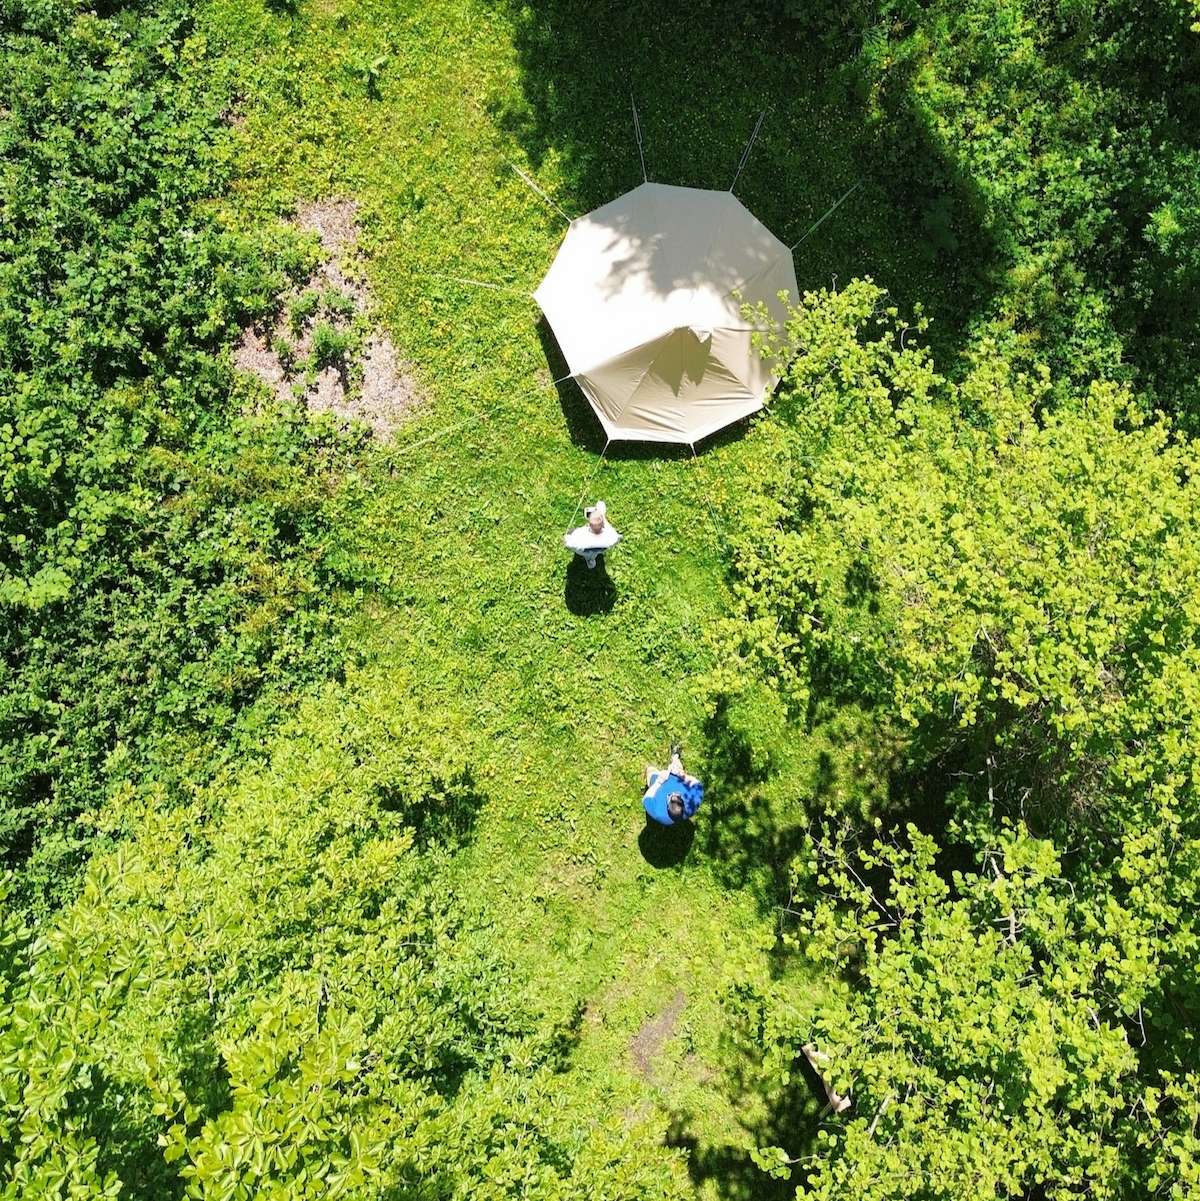
Choosing the Right Spot
Selecting the perfect location is essential for a smooth setup. Look for flat, even ground, avoiding waterlogged areas or locations prone to flooding. Clear the area of sharp objects like rocks or sticks that could damage your tent.
Step-by-Step Setup Guide
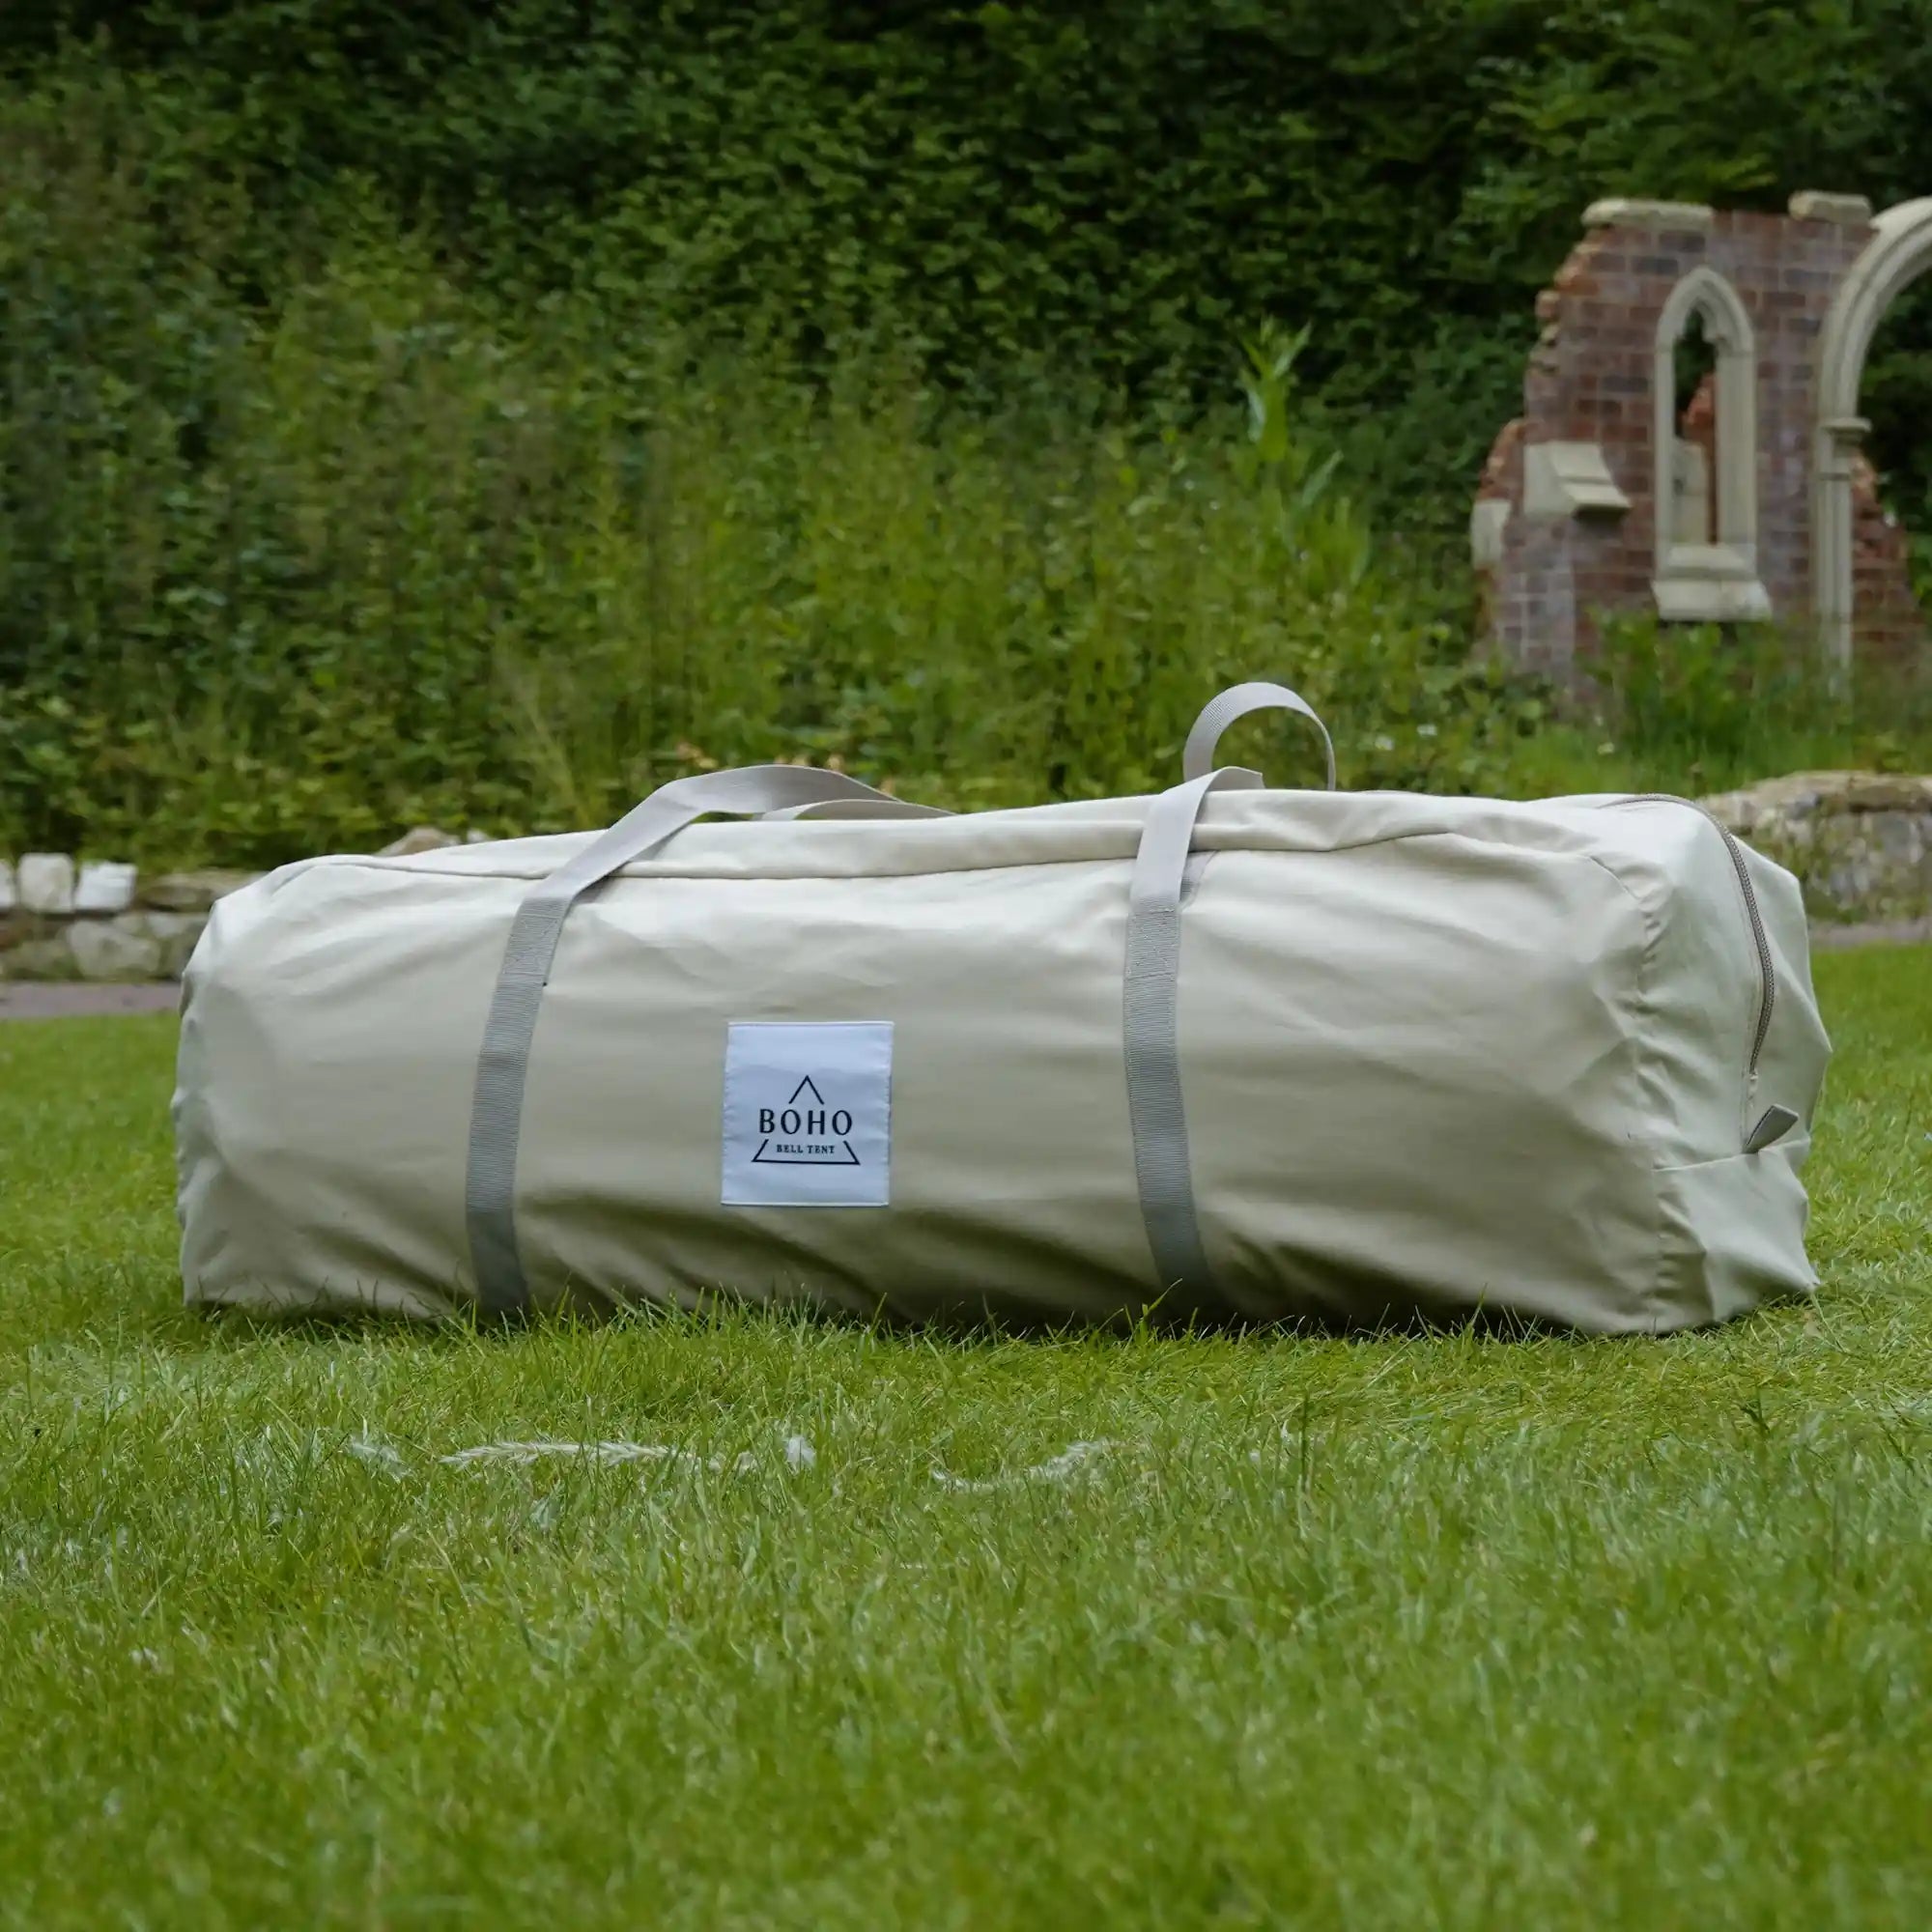
Step 1: Unpacking and Inspecting the Tent
Unroll your canvas bell tent and inspect it for any damages or missing parts. Ensure you have all components, including the central pole, stakes, guy lines, and groundsheet.
Step 2: Laying Out the Groundsheet
Spread the groundsheet on your chosen spot. This layer will protect the tent floor and provide additional comfort. Make sure it's flat and evenly spread out.
Step 3: Assembling the Central Pole
Insert the central pole sections together, ensuring they are securely connected. Position the pole in the centre of the groundsheet, ready for the next step.
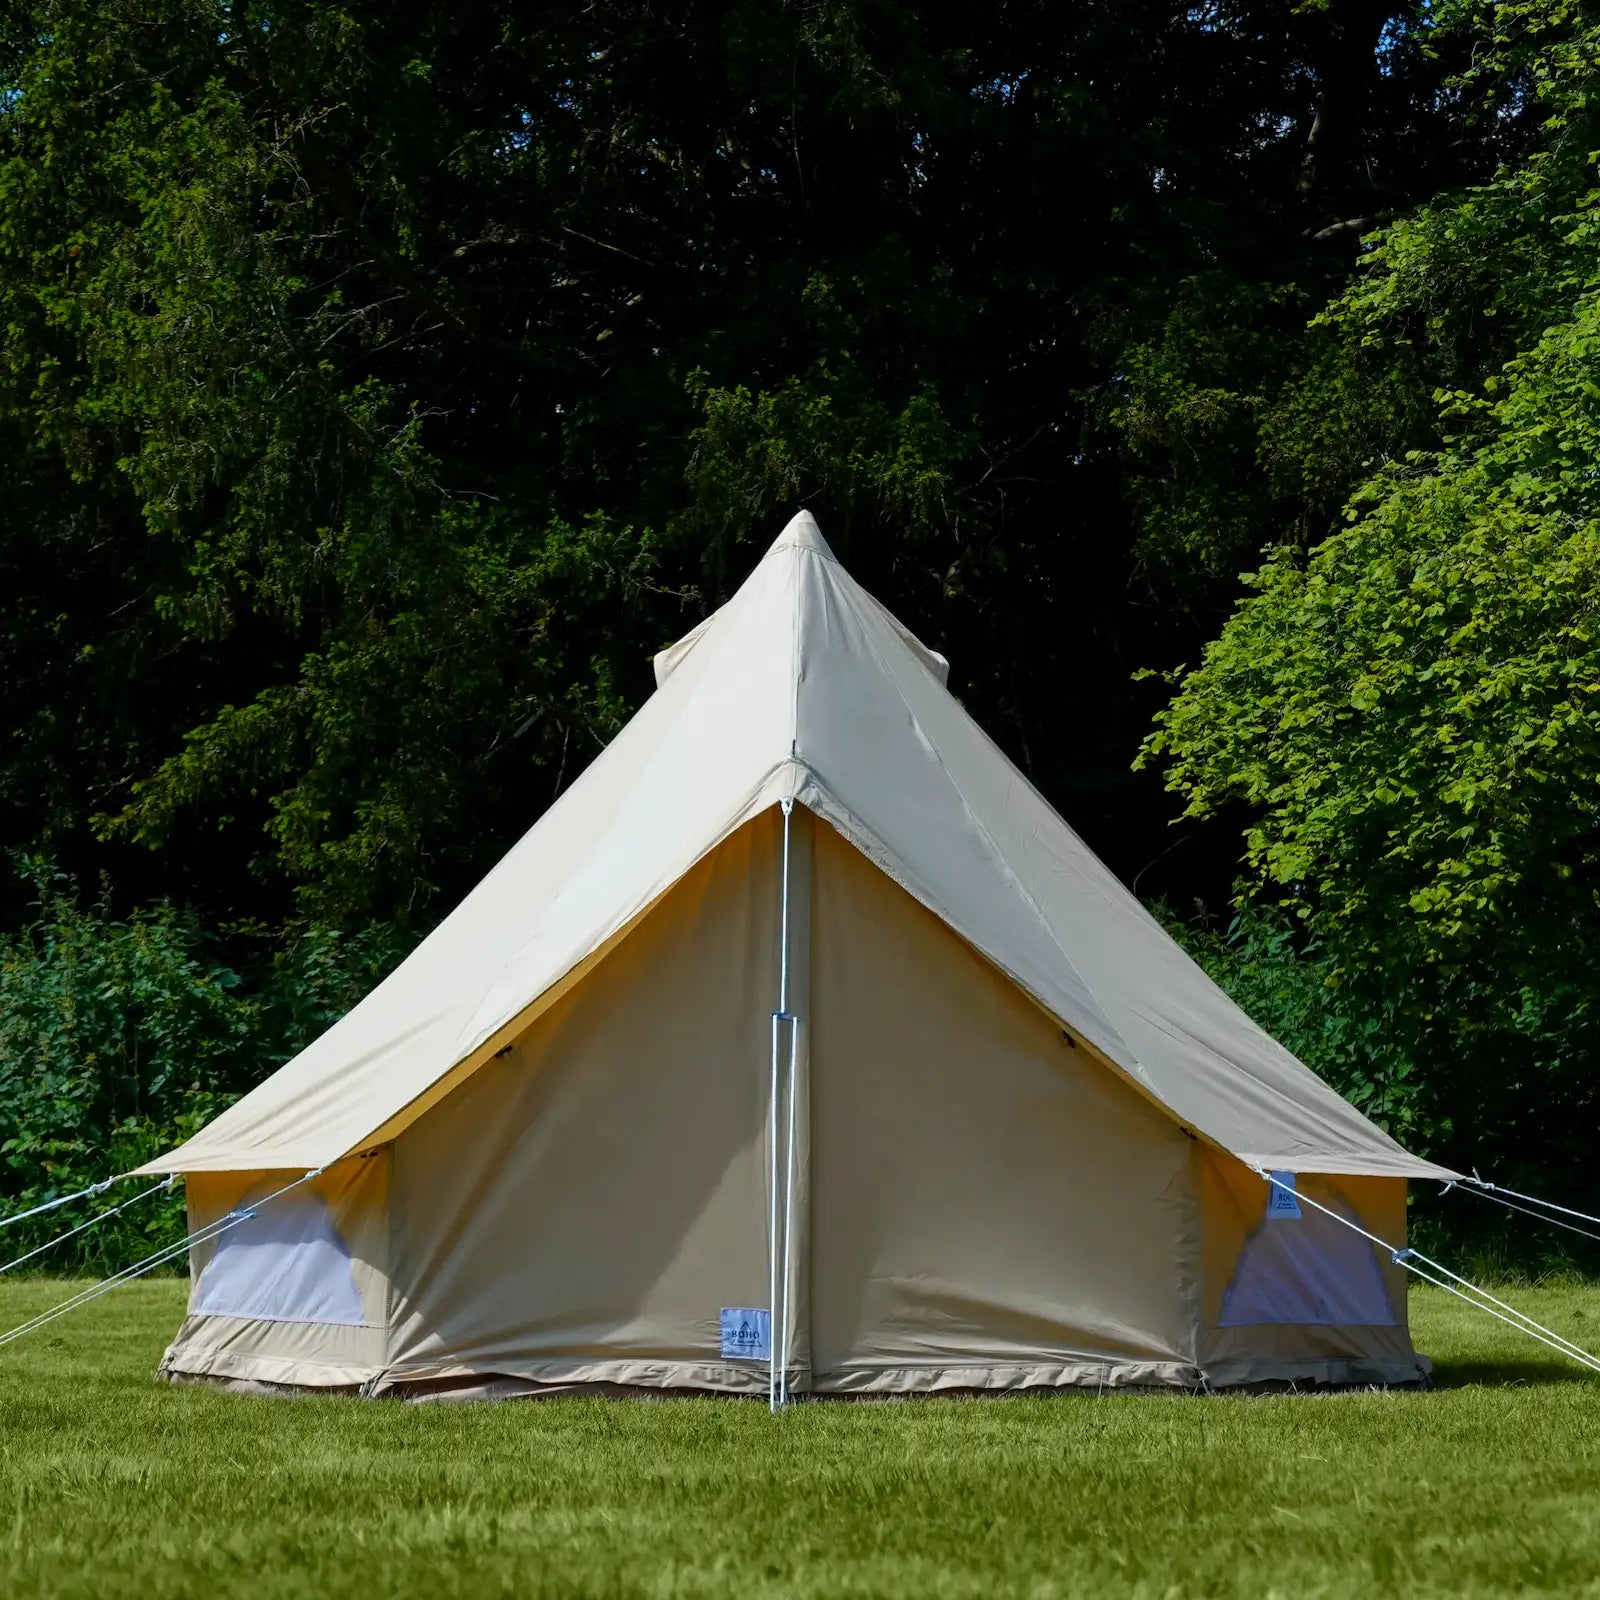
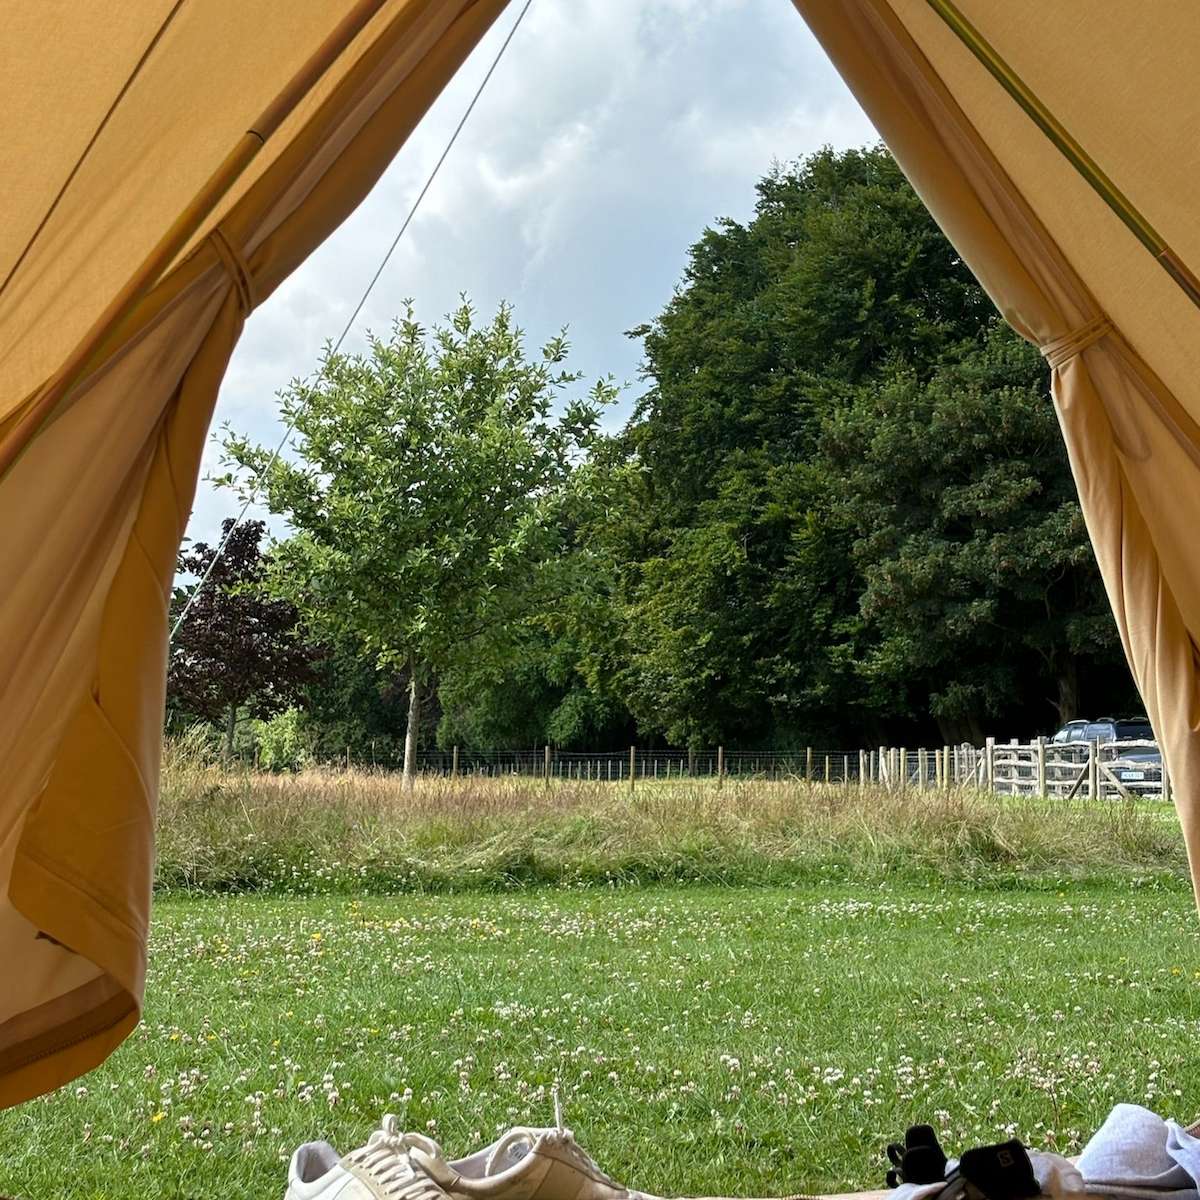
Step 4: Raising the Tent
Lift the central pole to raise the tent, ensuring the fabric is evenly distributed around the pole. This step might require an extra pair of hands to keep the tent balanced.
Step 5: Setting up the A-Frame
Once the central pole is in place - set up the doorway by assembling the A-Frame and securely fastening the A-Frame into the foot holdings by the sides of the door way. Once the frame is securely in place you can attach the tent further to the frame by using the ties on each side and at the top of the A-Frame.
Step 5: Securing the Tent
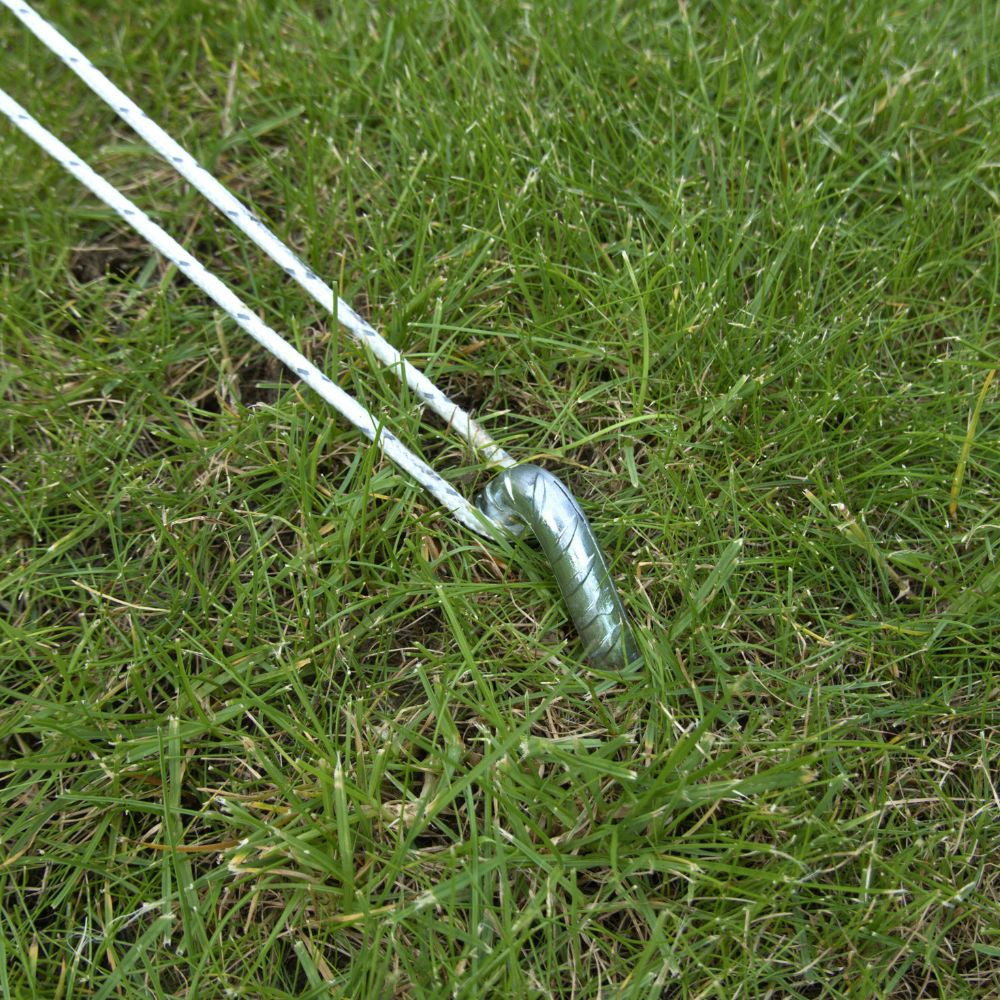
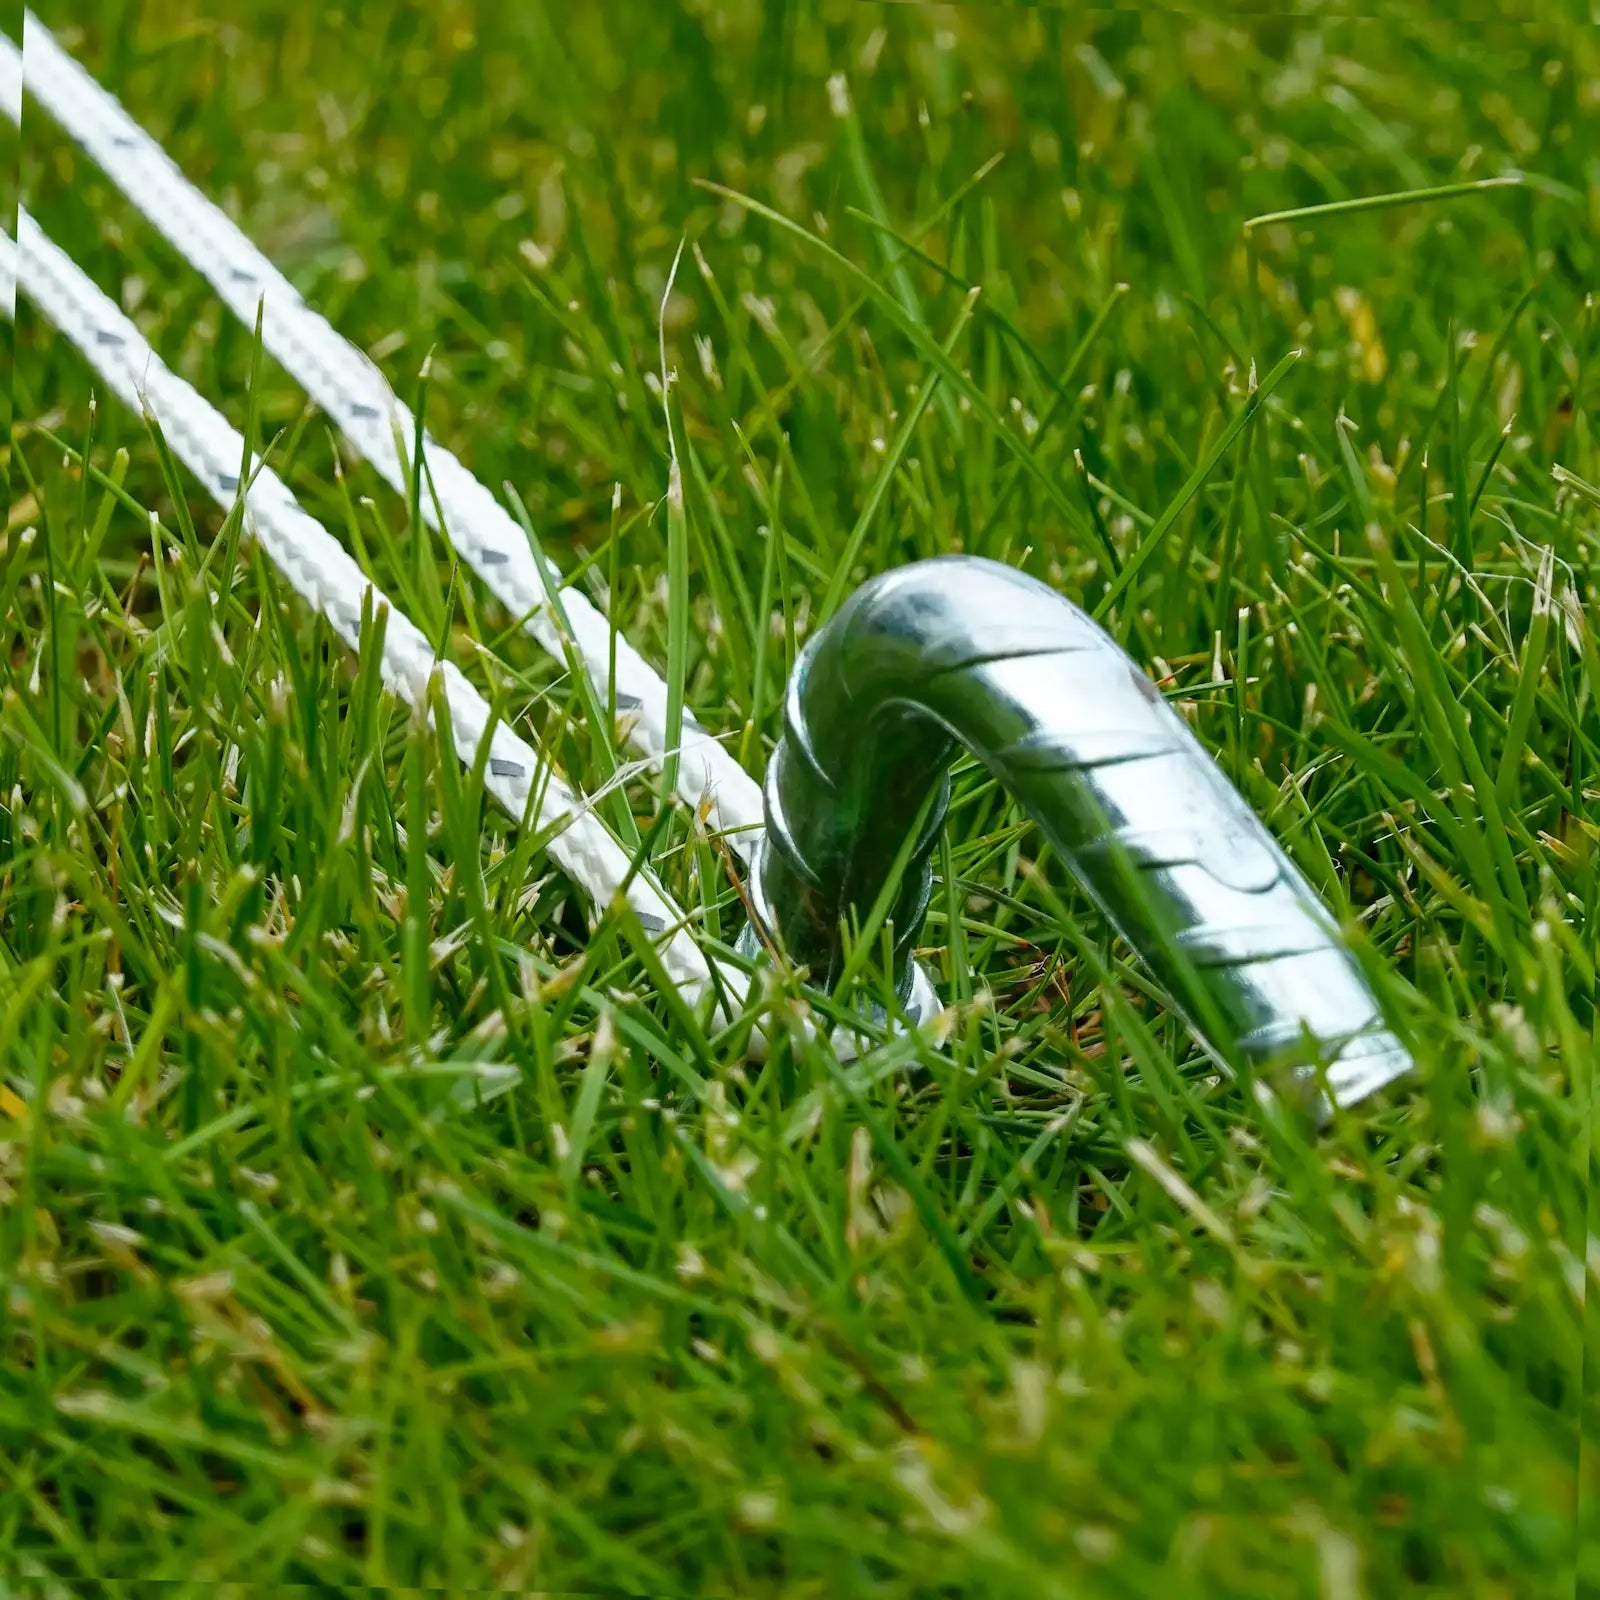
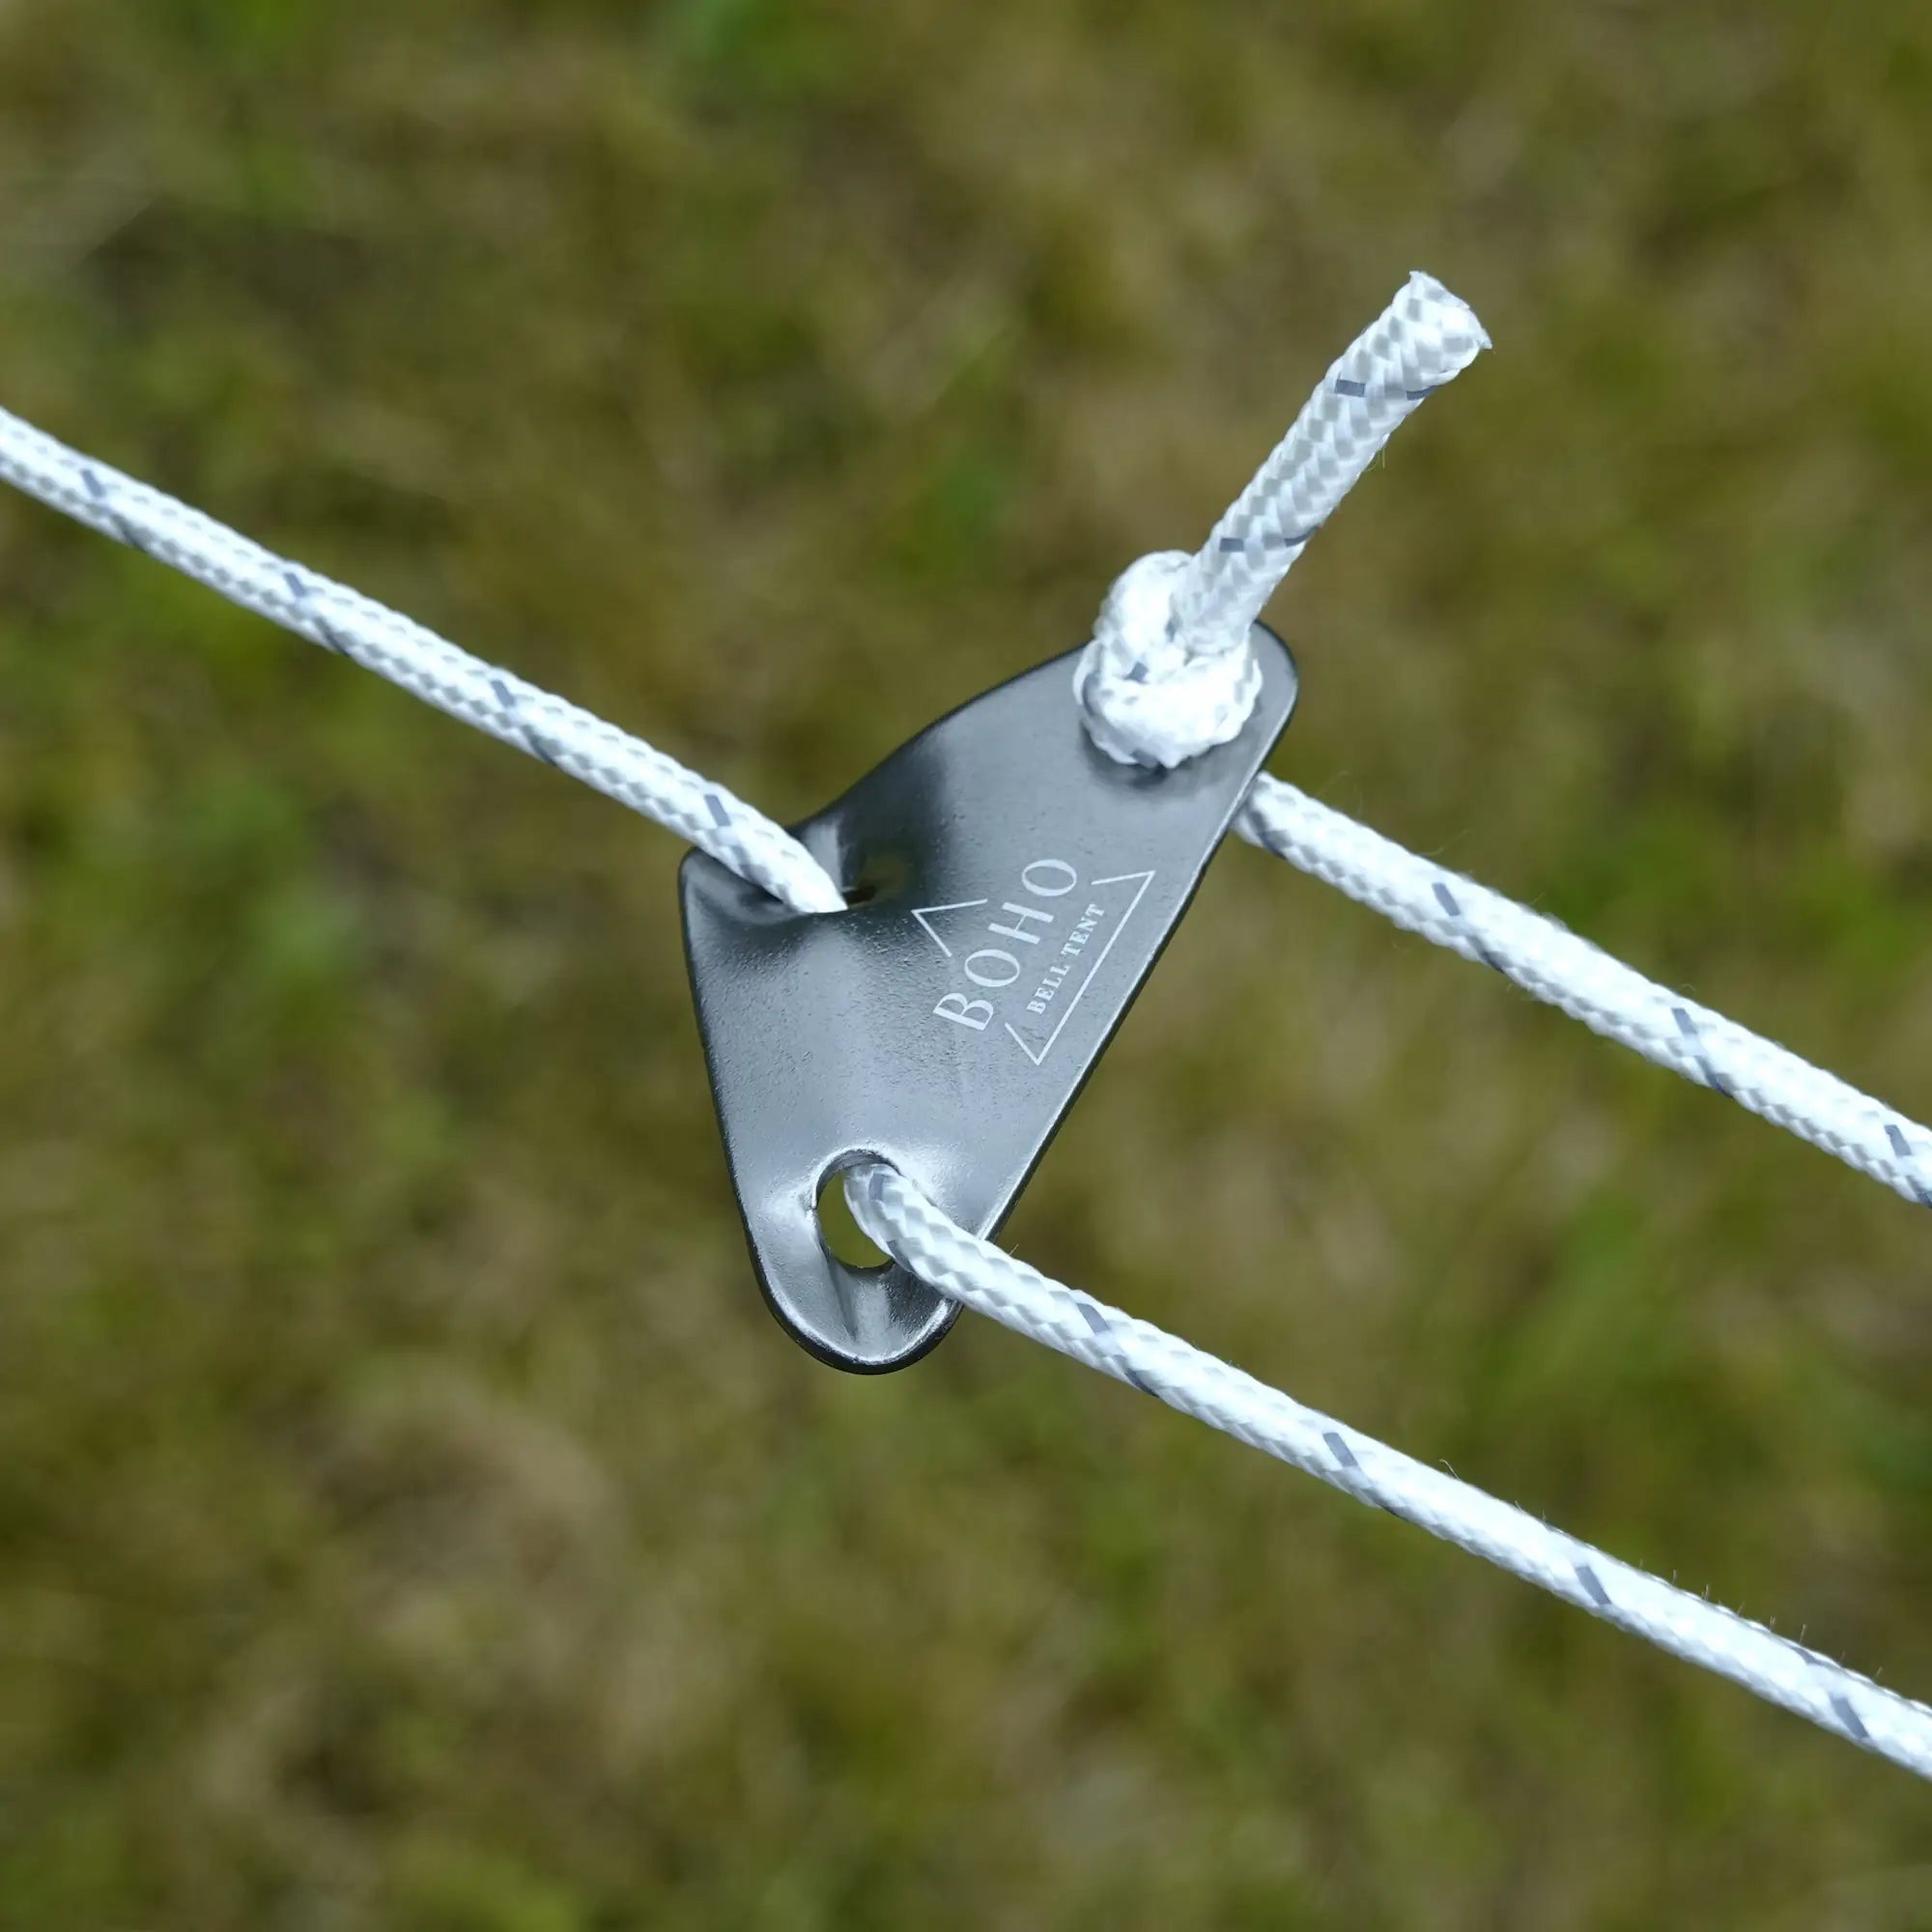
Use stakes to secure the tent base to the ground. Hammer the stakes in at a 45-degree angle for maximum hold. Before attaching the guy lines - ensure that tent door has been zipped up to allow the tent to be properly taut when the guy lines are secured. Attach the guy lines to the tent and secure them to the ground with additional stakes, creating tension to stabilise the tent. Make sure that the guy lines come out following the stitching of the bell tent.
Step 6: Final Adjustments
Check the tautness of the tent fabric and adjust stakes and guy lines as needed. Ensure the tent is stable and all doors and windows function correctly. Make any final adjustments to improve stability and appearance.
Tips and Tricks
Setting Up in Windy or Rainy Conditions
- Use additional stakes and guy lines for extra stability.
- Pitch your tent with the entrance facing away from the wind to reduce wind impact.
- Ensure the groundsheet is properly secured to prevent water from seeping in.
Preventing Common Setup Issues
- Avoid sagging by ensuring the central pole is firmly in place and the guy lines are taut.
- Prevent water pooling by adjusting the tent's angle and ensuring proper drainage around the tent.
Maximising Stability and Durability
- Regularly check and tighten guy lines and stakes.
- Consider using heavier-duty stakes for better ground penetration.
Troubleshooting
Uneven Tension
If you notice uneven tension, adjust the guy lines and reposition the stakes to create uniform tautness across the tent.
Loose Stakes
Check the ground for soft spots and reposition stakes in firmer ground if necessary. Use a mallet to secure them deeper into the soil.
Maintenance After Setup
To maintain your canvas bell tent while it's set up, follow these guidelines:
- Regularly check for and remove any dirt or debris.
- Ensure proper ventilation to avoid mould and mildew.
- Periodically inspect guy lines and stakes for stability.
Setting up a canvas bell tent may seem daunting at first, but with this step-by-step guide, you'll find the process straightforward and manageable. Remember to practice at home before your trip to ensure a smoother experience in the great outdoors. By following these instructions, you'll enjoy the comfort, durability, and aesthetic appeal of your canvas bell tent, making your camping adventures truly memorable.

At Boho Bell Tent, we’ve helped hundreds of customers find the perfect setup for festivals, weddings, and off-grid escapes. So if you need any help at all, be sure to reach out!
Share:
What are Canvas Bell Tents made of?
Can Pets Stay in a Bell Tent?